When using the platform event library for internal events, users with an account – such as employees or members – can create their own events, provided this feature is enabled in the portal. This section explains how the creation of community events can be enabled and managed.

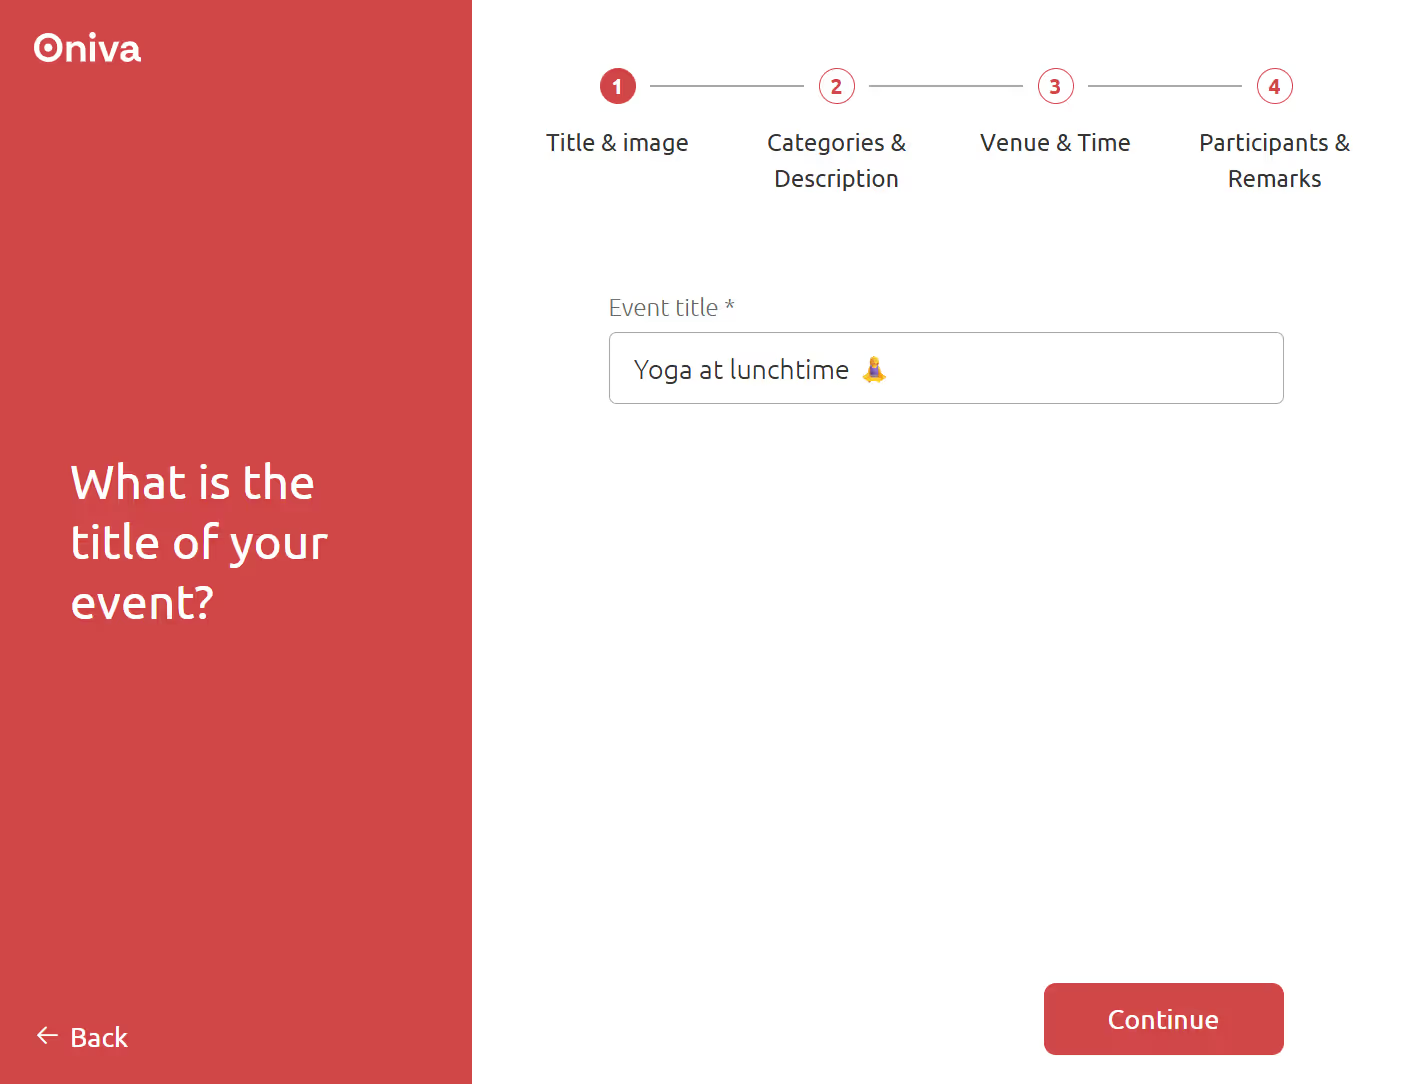
With the appropriate portal configuration, users with an account but without admin rights can also create and submit events in the platform event library. These events are initially saved with the status “Draft”. Admins then review the submissions and approve them. Notifications are sent both to the configured team mailbox and to the event creator.

Community events allow employees and other community members to create and coordinate self-organised events on topics such as organisational wellbeing, informal networking or sporting activities. To enable community-created events, the option “Allow users with an account to host events” must be activated in the workspace settings. Tenant admins can configure this option directly in the workspace’s tenant settings.
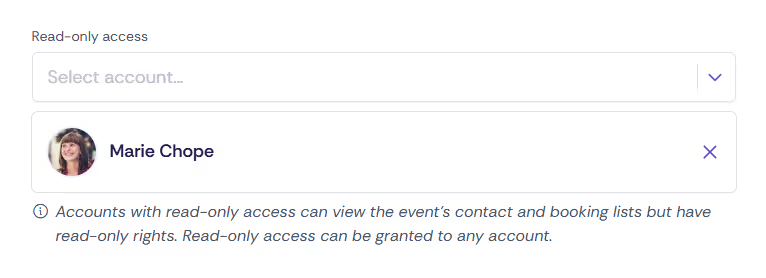
Once an event has been submitted by the community, it must be reviewed by a workspace admin or higher. The admin can view the event in the admin area, make any necessary changes and activate it. The event creator automatically receives read-only access to the event and subscribes to its configured notifications.
💡 Tip: The event creator can be notified when the event is activated. To do this, select the checkbox “Send notifications” in the “Activate event” modal when activating the event.
Event creators have read-only access to their events in the admin area. They can view the event dashboard, review event contacts and bookings, including downloading guest lists. However, they cannot edit the event itself; for any changes, they must contact the responsible event admin.
